The Keihin FCR Carb Rebuild With Zip-Ty Racing - Dr. Dirt - Dirt Rider Magazine

A Carb rebuild with Dr. DirtKarel Kramer

Tech How-To
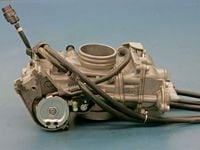
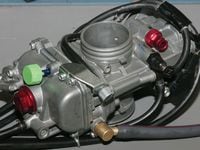
A good portion of modern four-stroke engine performance is due to the Keihin FCR carburetor. An accelerator pump and a high-tech slide supported by four wheels make the FCR a relatively complex design. There are many parts that can wear out and get dirty or gummed up. There are a few shops that specialize in mods and service for these carburetors. Some, such as JDJetting (www.jdjetting.com; 253.939.7114) and Factory Pro (www.factorypro.com; 800.869.0497), sell kits that you install yourself, and others, such as Zip-Ty Racing (www.ziptyracing.com; 760.244.7028) and Tokyomods (www.tokyomods.com; 888.457.9403), will set up the carburetor for you or actually modify it for increased performance and response. White Brothers offers both options. As complex as the FCR carburetor is, it is more intimidating to look at than it is to work on. You will still need a good manual. Getting the carburetor off and back on will be the hardest part. You'll need to remove the cover on the side of the carburetor, disconnect the throttle cables, make sure the vent hoses are all free from the bike and disconnect the wire to the TPS. Do not remove the TPS from the carburetor; it is synched to the throttle shaft with a meter, and it must be resynched if removed. With perimeter-frame machines, it is almost always easier to take off the subframe and the shock before removing the carburetor.

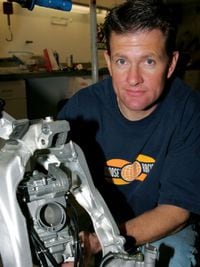
01 Ty Davis starts by thoroughly cleaning the FCR body in a solvent tank filled with Simple Green rather than using a petroleum-based solvent or contact cleaner. He warns that you should never spray contact cleaner into the mouth of a carb.Karel Kramer
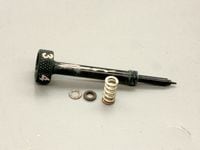
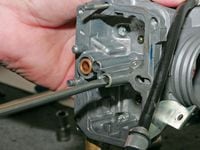
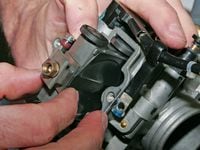
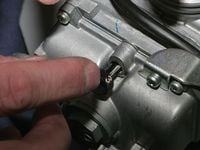
02 If you have an aftermarket fuel screw installed, this is a good time to remove it. Take care so you don\'t lose the small spring, washer or O-ring. If you still have the stock fuel screw, removing it can wait.Karel Kramer
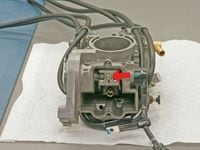
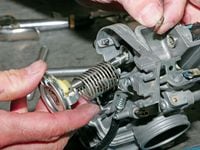
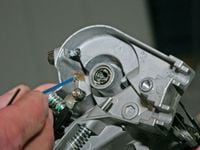
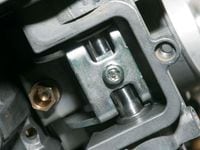
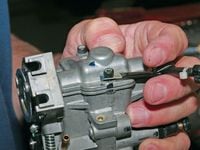
03 You will need to extract this bolt from the throttle linkage above the slide. It may be a secure Torx with a tiny post in the middle. You may need to visit a special tool store to find a dimpled Torx socket.Karel Kramer
04 With the Torx removed, the slide\'s lifting arm can rotate out of the way, and the slide can be pulled out. The brass fitting on top of the slide holds the needle in place.Karel Kramer
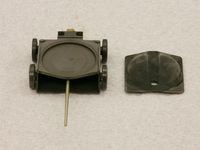
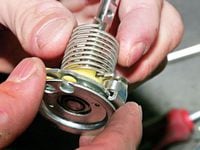
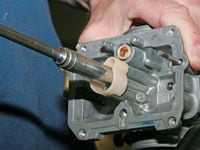
05 The slide has a wear plate that lifts off. Some companies recommend changing it every 25 hours. It is an expensive part, but replacing it can make a big difference in how crisply and cleanly the bike runs down low.Karel Kramer
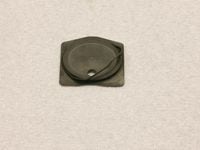
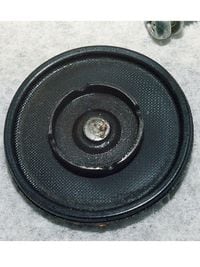
06 The back side of the wear plate has this very delicate seal. Davis warns that chemicals like contact cleaner will cause the seal to swell and ruin it. It is a good idea to replace the seal when the carb is apart.Karel Kramer
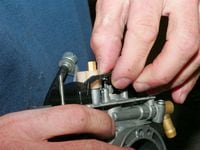
07 Davis removes all the vent hoses at this point. Small brackets mounted on each rear corner of the float bowl guide some of the vent hoses. Remove the bowl screws and the idle adjustment bracket.Karel Kramer
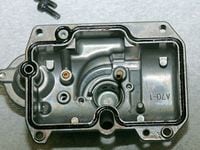
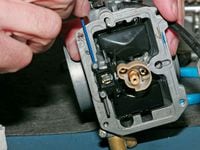
08 Work off the float bowl and look for any dirt or other junk in the bowl. This one is quite clean. Most water and sediment will settle in the drain bolt.Karel Kramer
09 With the bolt removed, the throttle pivot shaft should simply pull out. Note the return spring attachment and the placement of the two washers. Clean up the shaft and assorted parts. Set these parts safely aside.Karel Kramer
10 At the top of the slide will be some arrangement that allows removal of the needle. Some off-road bikes have nonadjustable needles (only one clip position), and they can be replaced with an adjustable one for tuning.Karel Kramer
11 Using a small tool, push out the float pin. A small Allen wrench or the back end of a drill bit should work fine. Once the pin is moved, you should be able to pull it out with your fingers.Karel Kramer
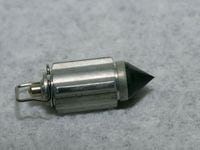
12 The float manipulates this float needle to keep the fuel level in the float bowl constant. Look for damage near the pointed rubber tip. The needle is loosely attached to the float via the wire loop. Don\'t lose it.Karel Kramer
13 The main jet is threaded into the needle jet, so remove them together. The fuel baffle (called a \"spacer\" in the manual) will come off easily after the needle jet tube is out.Karel Kramer
14 Unscrew the starter jet and the pilot jet. A blade screwdriver with a tip or shaft larger than 4mm wide will jam in the pilot-jet opening. Clean all the jets, and ensure that all of the openings are unrestricted.Karel Kramer
15 There is a screen at the bottom of the needle-valve seat that prevents trash in the fuel from entering the float bowl. It cannot be removed for cleaning, so use compressed air to blow it clean from this side.Karel Kramer
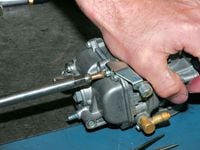
16 Use a finger to operate the accelerator-pump rod through a full stroke. You should feel spring resistance but no hard spots or hitches in the travel. If it doesn\'t move freely, pull it apart and clean it.Karel Kramer
17 A small screw holds the fuel-line fitting in place. The carburetor was otherwise quite clean, but this fitting and passage need a bath.Karel Kramer
18 A little grease on the O-rings will ease the cleaned fitting back into the carburetor body. Don\'t get carried away with the grease. Install the screw that holds the fuel-line fitting. It shouldn\'t need thread-locker.Karel Kramer
20 The throttle-return spring has a hook that must engage the throttle shaft before the shaft is reinserted. The shaft washers fit between the body and the throttle-valve lever: the metal one against the carburetor body and the resin washer against the lever.Karel Kramer
21 Getting all the throttle-valve parts lined up takes a bit of fiddling, but once they are arranged, the throttle shaft should easily slip through the freshly greased bearings.Karel Kramer
22 After setting the plastic spacer in place, use a socket to thread the needle jet/main jet combo into the body. The pilot and starter jets go in next. The threads are brass inside aluminum, so don\'t go crazy tightening jets.Karel Kramer
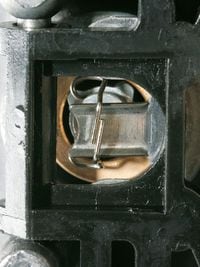
23 Before the float and needle valve go in, this wire loop attached to the needle must be slipped over this tang on the float. Work over a surface that will allow you to find the float needle if it is dropped.Karel Kramer
24 Lower the float and needle valve together. Carefully guide the needle valve into the needle-valve seat. If the tip of the needle bumps the seat, it will pop the wire loop off of the float and cause needless cursing.Karel Kramer
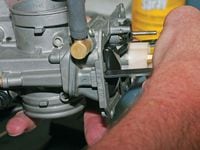
25 The manual outlines a method for setting the float height using a caliper. Davis uses a Honda tool that measures the height of the float while lightly blowing into the fuel line.Karel Kramer
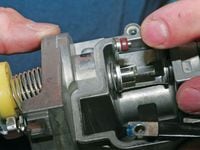
26 Lift the throttle-slide lever arm out of the way with one hand, and hold the slide (throttle valve) and the throttle-valve plate together with the other hand. Make sure the needle doesn\'t hang up while going in.Karel Kramer
27 The bolt holding the lever arm to the throttle shaft is the only one in the carburetor that calls for thread-locker (blue). Again, you may need a special Torx bit that is drilled to clear the center post.Karel Kramer
28 Insert the front float-bowl screws and snug them down, but remember to add the vent hose guides. Then attach and tighten the idle-adjustment screw and bracket.Karel Kramer
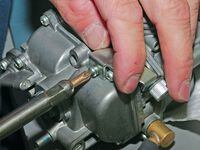
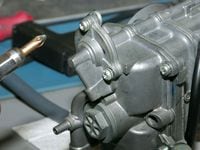
29 Using your good #2 Phillips, take out the three small screws holding the accelerator-pump diaphragm in place. Detach the cover carefully so you don\'t lose the spring that rests on the diaphragm.Karel Kramer
30 Early FCR carburetors had much poorer accelerator-pump sealing, and the pump membrane could pack with dirt. You can see that only a little dirt has entered this pump and the membrane is in good condition.Karel Kramer
31 Replace the diaphragm, spring and cover; tighten the screws; then move to the top of the carburetor body and replace the top. On a Honda, this wire holder goes on the front screw.Karel Kramer
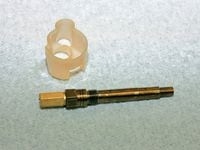
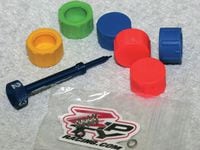
32 Before installing the fuel screw in the carburetor body, first slip the spring over the end of the fuel screw, followed by the washer and the O-ring. This Zip-Ty screw comes with the new parts. The rubber covers are separate.Karel Kramer
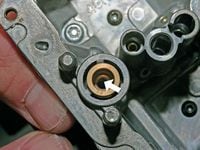
33 With a stock or aftermarket fuel screw, it should take between eight and nine rotations to fully tighten. If you get less than eight turns, don\'t force it. Check the threads on the screw and in the carburetor body.Karel Kramer
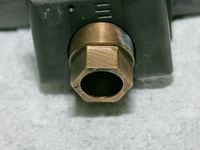
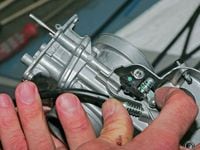
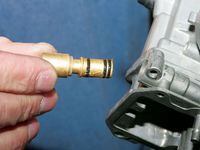
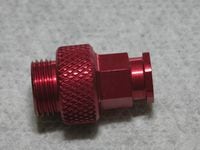
34 The stock hot-start fitting has a plastic 14mm hex that is a pain to get a wrench on. Zip-Ty Racing sells a billet-aluminum unit with a 10mm hex. If you haven\'t already, remove the hot-start plunger and check for corrosion.Karel Kramer
35 Zip-Ty Racing also makes a float-bowl drain bolt with a magnet in it. We\'ve tried them, and the magnet nearly always has metal stuck to it. Now install the drain bolt (stock or aftermarket).Karel Kramer
36 All that is left is to reattach the vent hoses neatly, and the carburetor is ready to go back on the bike. Now just keep it this clean, and your engine will stay very happy.Karel Kramer