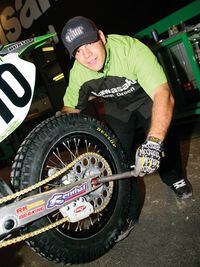
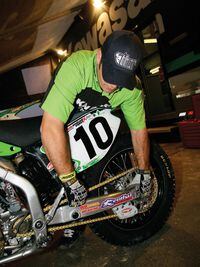
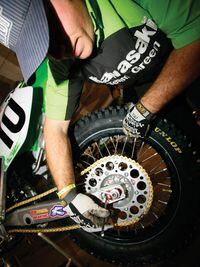
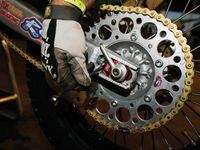
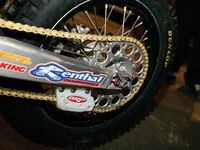
Proper chain tension is vital to drive-component longevity and peak performance. When we noticed Destry Abbott's main wrench, Jonny Weisman, adjusting chain tension after a rear sprocket swap, we had to ask about his secret technique and what parts he uses to make wheel changes quick and easy in the heat of battle.
Latest

/cloudfront-us-east-1.images.arcpublishing.com/octane/SQ3CEIVCOJF7FDERDVDKKPIC7A.jpg)
/cloudfront-us-east-1.images.arcpublishing.com/octane/LLLQLRK2DBH4PN66MDNA3AFJNY.jpg)
/cloudfront-us-east-1.images.arcpublishing.com/octane/5DMU4K752FBWLLJD432GRAAH2A.jpg)
/cloudfront-us-east-1.images.arcpublishing.com/octane/TGHDVMIODJC4BNKJDZKKTSWXWI.jpg)
/cloudfront-us-east-1.images.arcpublishing.com/octane/5KYMT24REJEFPNO2J2M76MXERM.jpg)

/cloudfront-us-east-1.images.arcpublishing.com/octane/3GXGR3EKSNH5NI3CWHV5SJ7TXE.jpg)
/cloudfront-us-east-1.images.arcpublishing.com/octane/JEU3ONDWEFCAZNAZJOU24OJ2PM.jpg)
/cloudfront-us-east-1.images.arcpublishing.com/octane/JQ6LMK6LLBAQJIL2AH56UIUKWU.jpg)
/cloudfront-us-east-1.images.arcpublishing.com/octane/QUSF4LLRM5DDPCJW25RINQRJPE.jpg)
/cloudfront-us-east-1.images.arcpublishing.com/octane/FYDGK7GF4JBPXERA5RAZPY3YJI.jpg)
/cloudfront-us-east-1.images.arcpublishing.com/octane/JE7KMNASNRGR7FLYAFRZAR7T7E.jpg)
/cloudfront-us-east-1.images.arcpublishing.com/octane/7RCNKJJNXBF4LBKZXE2INNWZUY.jpg)
/cloudfront-us-east-1.images.arcpublishing.com/octane/BAGM5E4EWBHFNLZOXMSLOLKQGU.jpg)
/cloudfront-us-east-1.images.arcpublishing.com/octane/RSX65VBXY5FRLIY4LN6WLOKAFM.jpg)
/cloudfront-us-east-1.images.arcpublishing.com/octane/3EO2CNKWUFBGNMGNJPETW5HCNY.jpg)
/cloudfront-us-east-1.images.arcpublishing.com/octane/IYHM55XRNVHF3DSS3467PZ7ONQ.jpg)
/cloudfront-us-east-1.images.arcpublishing.com/octane/L7K3FIINEBHMZI2TXTUE4FXH7I.jpg)
/cloudfront-us-east-1.images.arcpublishing.com/octane/XE7P5YXNZZDUTIGW4YNWQRDVY4.jpg)
/cloudfront-us-east-1.images.arcpublishing.com/octane/AV55DOHQ3BEXJLPWR6UWLYUSAQ.jpg)
/cloudfront-us-east-1.images.arcpublishing.com/octane/MMROGOYHXZAYDC4RKIDJ4VRSGA.jpg)
/cloudfront-us-east-1.images.arcpublishing.com/octane/FHRWLPEOTBFOHFTQLIHJNIXCFQ.jpg)
/cloudfront-us-east-1.images.arcpublishing.com/octane/J2RUDOXTOZHBXOFCUQKBAGBMAQ.jpg)
/cloudfront-us-east-1.images.arcpublishing.com/octane/UDQASRGJ3ZDG3BANXWU6P5NIQY.jpg)